Guide/Refrigerators
LG Refrigerator Freezer Frost Buildup: Door Seals, Drain, and Defrost Checks
Diagnose LG freezer frost by pattern, then check the door gasket, drawer alignment, drain path, and defrost system before replacing parts
Start with the frost pattern
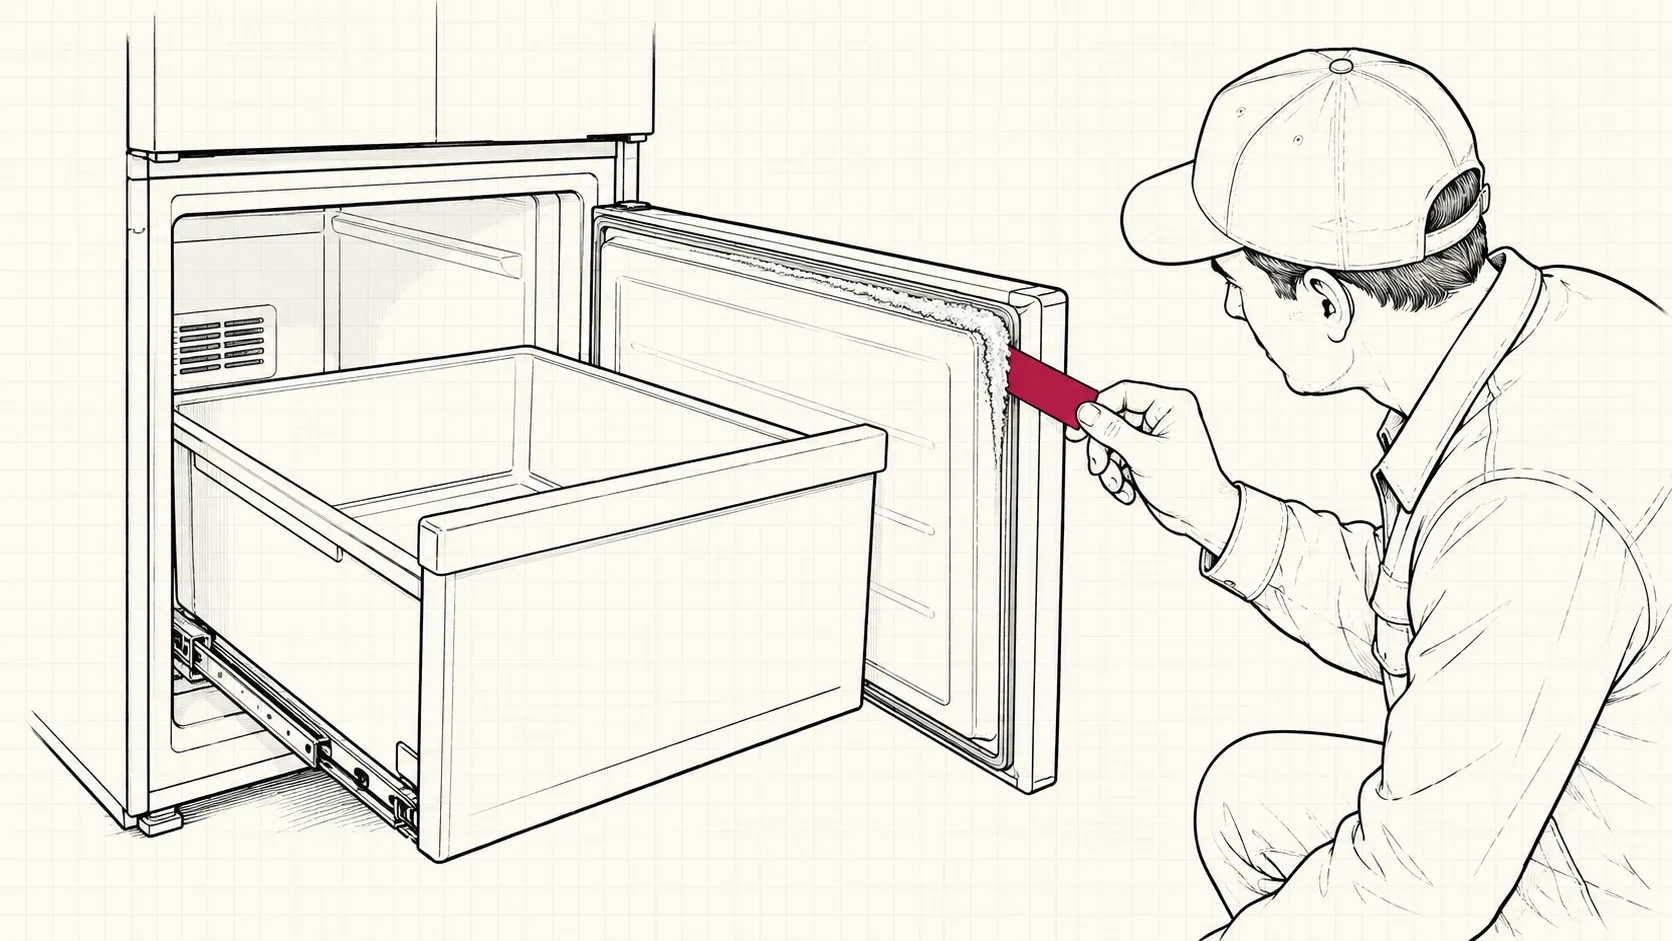
Frost location tells you which system to inspect first. A light, even film on food after frequent door openings is usually moisture entering with room air. Thick white frost concentrated along one edge of the freezer door points to an air leak. A hard sheet of ice on the freezer floor points more toward defrost water that is not reaching the drain. A dense snowpack hidden behind the evaporator cover suggests a defrost system fault, which is a different repair path.
Set the freezer to 0°F (-18°C) before diagnosing. Do not compensate for frost by setting the control colder. A colder setting can increase compressor run time and may add more frost if outside air is already leaking into the compartment.
Check whether the door is actually closing
A freezer can look closed and still be open by a few millimeters. Pull the drawer or door fully open and inspect for packages, ice trays, bins, or rails that stop the final 5 to 10 mm of travel. On drawer models, check both slide rails. One rail that stops short will twist the drawer front and create a gap on one side.
Close the freezer gently from about 100 mm away. The gasket should pull evenly onto the cabinet face. If you need to lift, push sideways, or slam the door to make it seal, correct the mechanical problem first.
Frost heavier on one corner often identifies the leak location.
Test the gasket, not just its appearance
A gasket can look intact and still leak. Clean the gasket and cabinet contact surface with warm water and mild detergent, then dry both. Grease, syrup, crumbs, and a folded gasket lip can prevent full contact.
Use a strip of ordinary printer paper about 25 mm wide. Close the door on the paper at several points around the perimeter. You should feel clear drag when pulling it out. A section that releases with almost no resistance deserves closer inspection. This is a comparison test, not a calibrated force measurement, so compare the weak area with a section that seals well.
Inspect for tears, hardened corners, sections pulled out of the retaining channel, or a gasket that remains compressed after the door has been open for several minutes. A loose section can often be pressed back into its channel. Replace the gasket if it is torn or permanently deformed and cannot make continuous contact.
Do not use a heat gun. Excess heat can distort the plastic door liner and permanently damage the gasket.
Check cabinet level and door alignment
Gravity should help the door finish closing. Many refrigerators are installed with the front slightly higher than the rear so the doors tend to close instead of drift open. The adjustment depends on the cabinet and hinge design, so use the model specific installation instructions.
A cabinet that rocks when you push a top corner can change gasket contact. Leveling feet should be firmly loaded, and the cabinet should not twist.
On French door models, inspect the center mullion on the refrigerator doors if condensation or frost is appearing near the center. It must fold and engage correctly when the doors close. On freezer drawers, compare the left and right drawer front spacing. A visibly uneven gap can indicate rail or bracket misalignment.
Separate air leak frost from a defrost fault
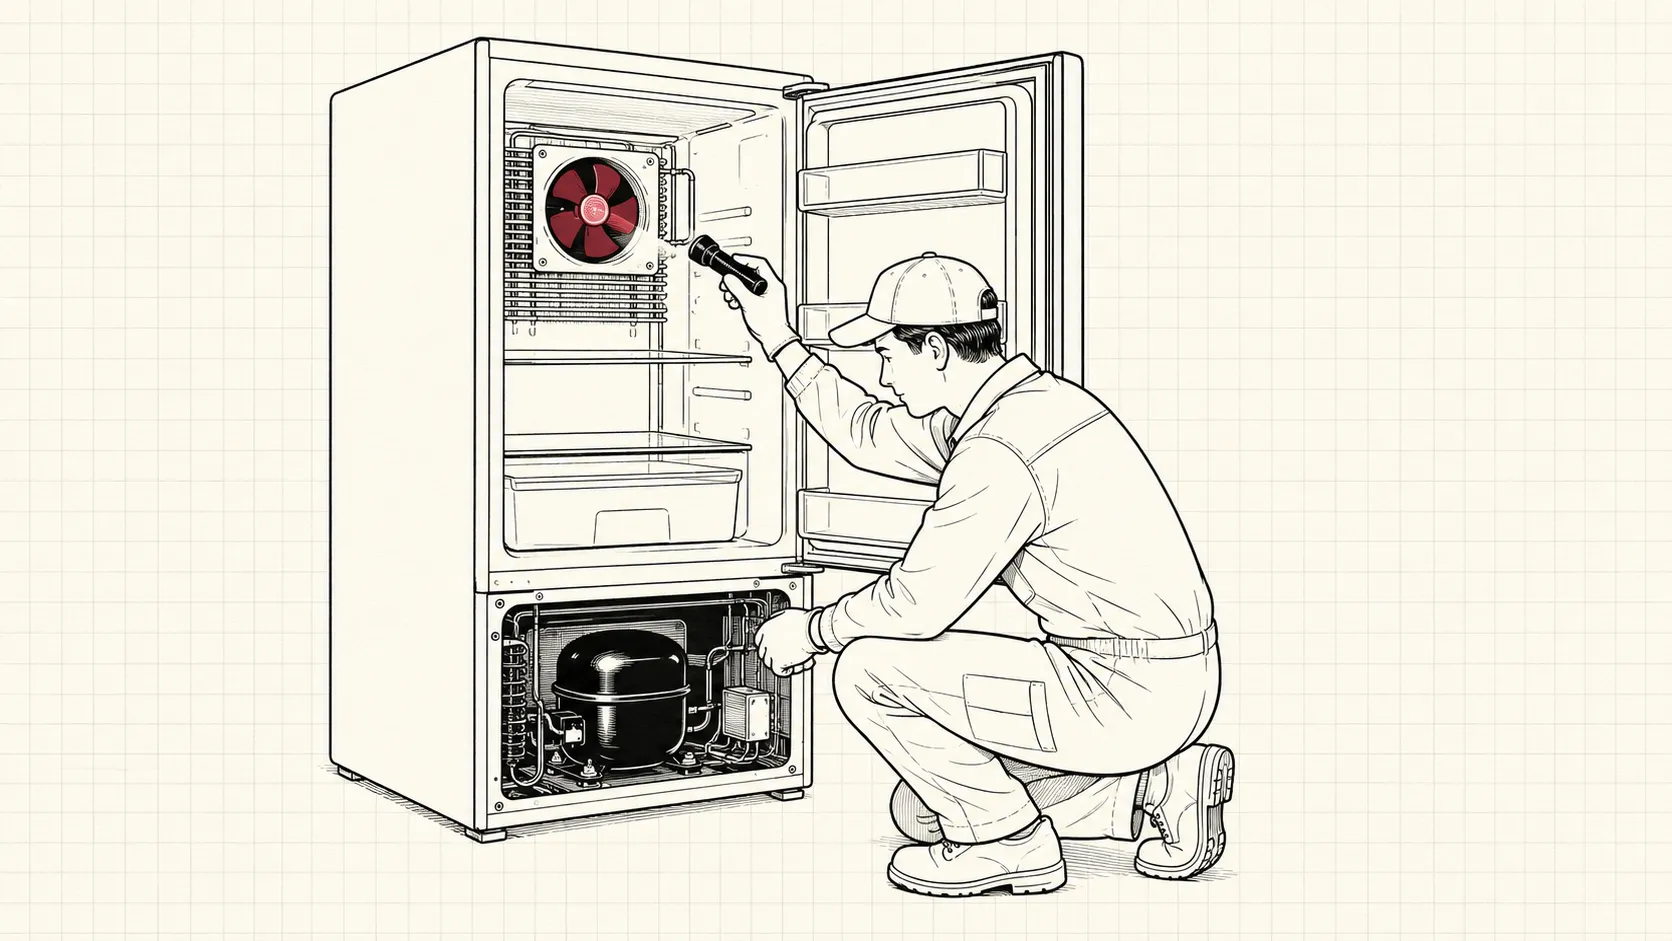
The evaporator frost pattern matters. If frost is mainly around the door opening, package edges, upper wall, or one side of the compartment, suspect humid air entering through a poor seal. If cooling weakens and the evaporator cover becomes packed with frost across a broad area, the heater, defrost sensor, thermal fuse, wiring, or control may need testing.
Do not remove an evaporator cover while ice is locking it in place. Prying can crack the liner, damage wiring, or puncture the evaporator. Unplug the refrigerator and allow a complete natural thaw before panel removal.
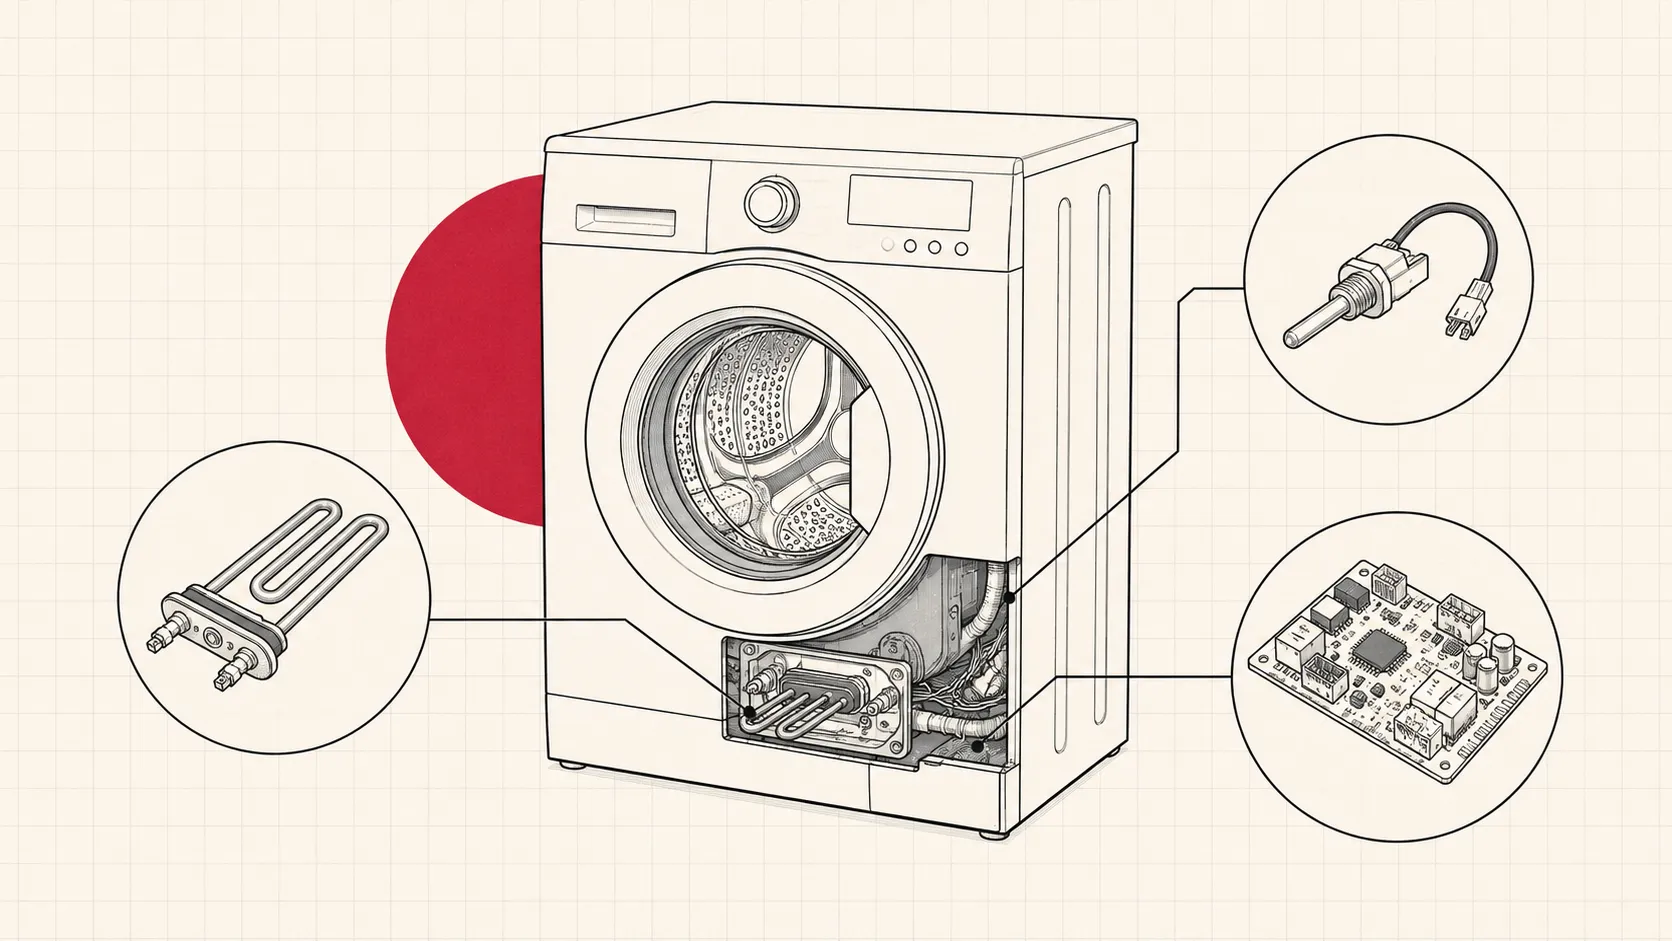
A service diagnosis may include checking the defrost heater for continuity, verifying sensor resistance against the service data at a known temperature, and confirming supply voltage during a commanded defrost cycle. Those values vary by model. Use the exact service sheet for the model rather than applying a generic resistance number.
Look for ice at the bottom of the freezer
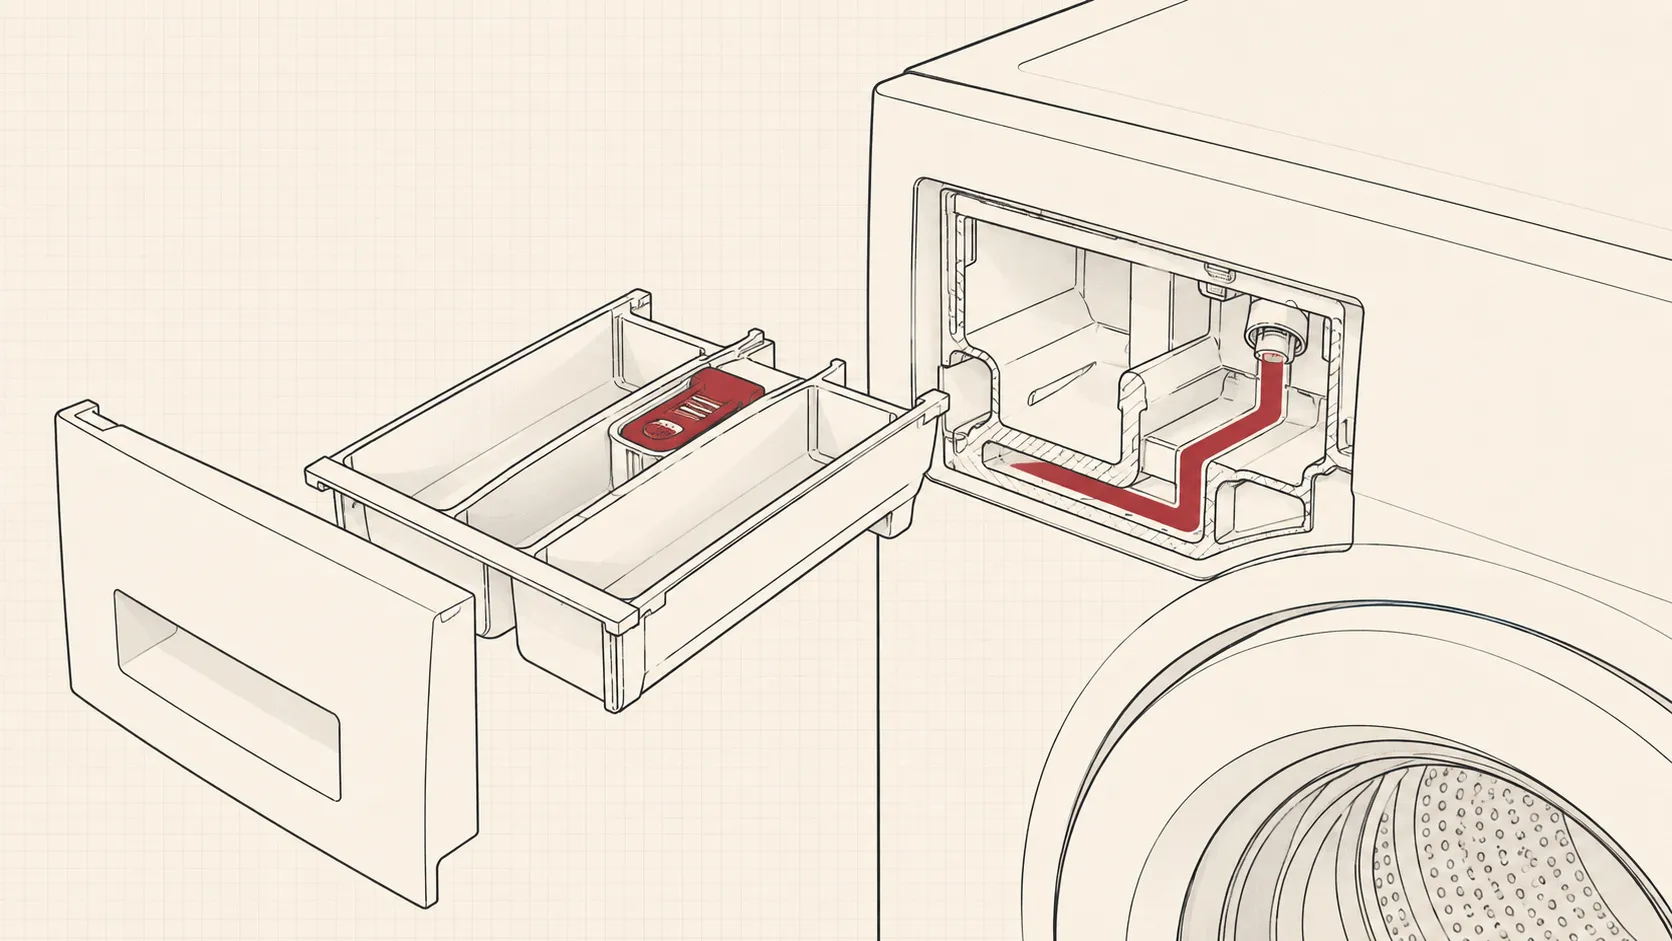
A flat sheet of ice below the lowest basket points away from the door gasket. During normal defrost, meltwater should flow through the drain into the drain pan. If the drain freezes or plugs, water can run onto the freezer floor and refreeze.
Remove loose food and inspect the floor. If you find a solid layer of clear ice that repeatedly returns after thawing, the drain path needs inspection. Do not stab the drain or ice with a knife, screwdriver, or pick. A punctured liner or drain trough can turn a simple blockage into a cabinet replacement.
Check operating conditions before replacing parts
Humidity and usage can create frost without a failed component. Repeated long door openings, uncovered high moisture food, hot food placed directly in the compartment, and a door left slightly open can create visible frost quickly.
After correcting a sealing issue, remove loose frost, dry the compartment, and give the refrigerator 12 to 24 hours of normal closed door operation. A freezer thermometer should settle near 0°F (-18°C). The display setting is a target, not a measurement of actual food temperature.
High room humidity adds moisture at every door opening, but it should not create a persistent thick frost band at one gasket location.
When to stop and call a technician
Stop when the fault moves behind the evaporator cover or into live electrical testing. Call for service if the gasket and door alignment are good but the evaporator repeatedly freezes solid, the freezer cannot hold about 0°F (-18°C), the drawer rails do not close squarely, or ice returns on the floor after a complete thaw.
Also stop if you see damaged wiring, a deformed cabinet flange, a cracked door liner, or signs that a refrigerant tube has been struck. Electrical resistance and voltage checks should be performed with the correct service data and proper meter technique.
A localized frost band is usually a sealing problem. A floor ice sheet is usually a drainage problem. A uniformly buried evaporator is usually a defrost problem. Diagnose by pattern first, then replace only the part that fails a direct check.
REV 2026.07 · lg-washfix.com